Moroccan Spiced Coffee with Herbs: A Flavorful Tradition If you’re looking to elevate your coffee experience with a unique blend …
 S Simple to Make

Marrakech Flavors: Moroccan Recipes and World Delights
Marrakech Flavors: Moroccan Recipes and World Delights
Marrakech Flavors: Moroccan Recipes and World Delights
Marrakech Flavors: Moroccan Recipes and World Delights
At Marrakech Flavors, we believe that mastering the art of cooking begins with understanding the different cooking methods. Whether you’re experimenting with Moroccan spices or trying international recipes, knowing the right technique can transform your meals into culinary masterpieces. Let’s explore the essential cooking methods and how they can elevate your cooking game.
Cooking is more than following a recipe—it’s about understanding the science and art behind every dish. Here’s why learning cooking methods is critical:
Here are some essential cooking techniques to try in your kitchen:
Grilling is ideal for achieving a smoky, charred flavor, perfect for meats, vegetables, and even flatbreads. It’s a must-know method for summer barbecues or creating authentic Moroccan kebabs.
Pro Tip: Marinate your ingredients beforehand for added flavor and tenderness.
This quick and easy method involves cooking over medium-high heat with a small amount of oil or butter. It’s great for stir-fries or enhancing the flavor of fresh vegetables.
Pro Tip: Use a non-stick pan and keep stirring for even cooking.
A healthy, fat-free method that’s perfect for vegetables, fish, and dumplings. Steaming locks in nutrients and natural flavors without the need for oil.
Pro Tip: Add herbs or citrus to the steaming water for an aromatic boost.
From soft bread to sweet treats, baking is an essential skill for every home chef. This method uses dry heat in an oven to cook food evenly.
Pro Tip: Always preheat your oven and measure ingredients precisely for the best results.
These methods involve cooking food slowly in liquid, making them perfect for tenderizing meats and creating hearty dishes. Traditional Moroccan tagines are an excellent example of slow cooking.
Pro Tip: Use a tagine or slow cooker for authentic Moroccan stews.
Whether shallow frying or deep frying, this method is all about achieving crispy textures. It’s perfect for dishes like samosas or tempura vegetables.
Pro Tip: Use oils with a high smoke point, like sunflower or canola oil, for the best results.
At Marrakech Flavors, we embrace the rich culinary traditions of Morocco. Here are some methods that define Moroccan cooking:
Cooking is all about creativity and fun. At Marrakech Flavors, we encourage you to experiment with these cooking methods and create dishes that reflect your personality. Share your kitchen adventures with us on social media by tagging #MarrakechFlavors!
For more tips, recipes, and cooking inspiration, stay tuned to our blog.
Visit us at: www.marrakechflavors.com
This blog is optimized to rank for users searching for cooking techniques, Moroccan cuisine, and tips to enhance their culinary skills.
S Simple to Make
Moroccan Spiced Coffee with Herbs: A Flavorful Tradition If you’re looking to elevate your coffee experience with a unique blend …
 C Comfort Food
E Easy food
C Comfort Food
E Easy food
Rghaif Prestige: A Delicious Moroccan Recipe with Vegetables and Cheese Welcome to our Moroccan kitchen, where tradition meets innovation! Today, …
 M Moroccan cuisine
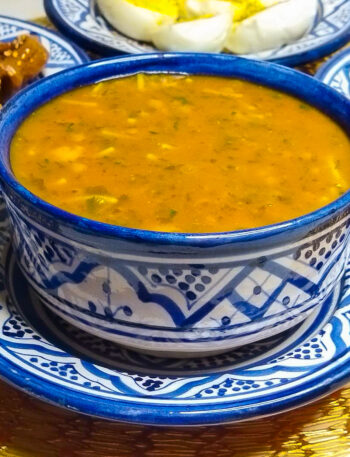
M Moroccan soup
M Moroccan cuisine
M Moroccan soup
Traditional Moroccan Harira Soup: A Flavorful Journey into Moroccan Cuisine Introduction: Discover the comforting and flavorful Moroccan tradition of Harira …
 E Easy food
Quick Meals
S Simple to Make
E Easy food
Quick Meals
S Simple to Make
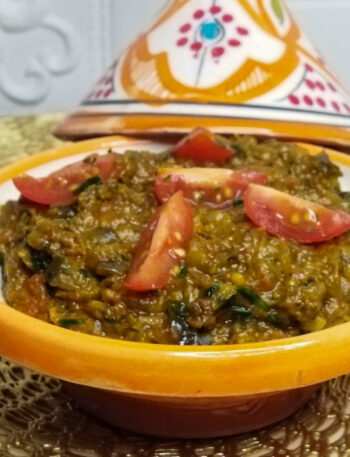
Zaalouk Recipe: Traditional Moroccan Dish with Eggplants and Tomatoes Zaalouk is an iconic dish from Moroccan cuisine, loved for its …
 I italian
Quick Meals
S savory
I italian
Quick Meals
S savory
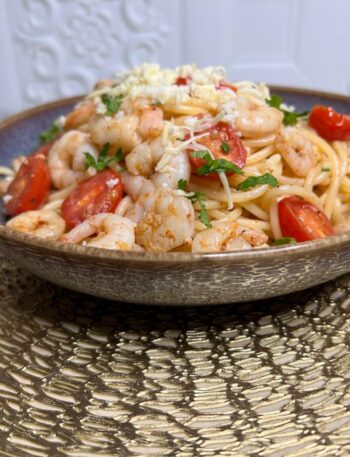
Delicious Shrimp Spaghetti Recipe: A Perfect Meal for Seafood Lovers Looking for a quick, flavorful seafood dinner? This shrimp spaghetti …
 E Easy food
Quick Meals
S Simple to Make
E Easy food
Quick Meals
S Simple to Make
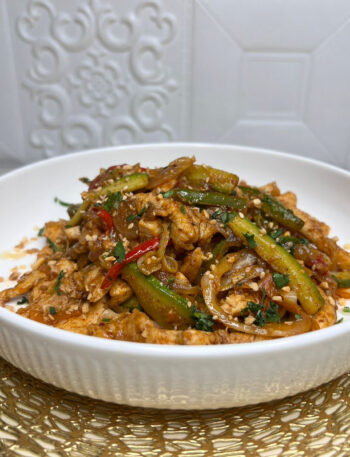
Looking for a quick and delicious dinner? Try this Chicken Stir-Fry recipe packed with fresh vegetables and savory spices. This …
 C Comfort Food
E Elegant Decoration
S Simple to Make
C Comfort Food
E Elegant Decoration
S Simple to Make
Introduction Are you looking to impress your family and friends with a delicious Middle Eastern dessert? Look no further! This …
 E Easy food
I italien
Quick Meals
E Easy food
I italien
Quick Meals
Looking for a simple yet indulgent dessert? This Tiramisu with coffee and cream cheese is the perfect treat to satisfy …
 E Easy food
Quick Meals
S savory
E Easy food
Quick Meals
S savory
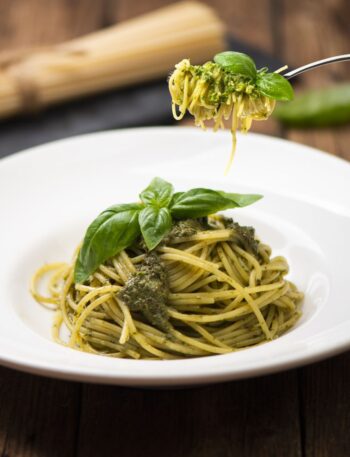
If you’re looking for a quick, delicious, and satisfying Italian meal, Spaghetti in Pesto Sauce is the perfect choice. This …
 S savory
S Simple to Make
S savory
S Simple to Make
If you’re craving a simple yet mouthwatering dessert, this apple cake recipe is perfect for you! Made with basic ingredients …
Error: No feed found.
Please go to the Instagram Feed settings page to create a feed.